
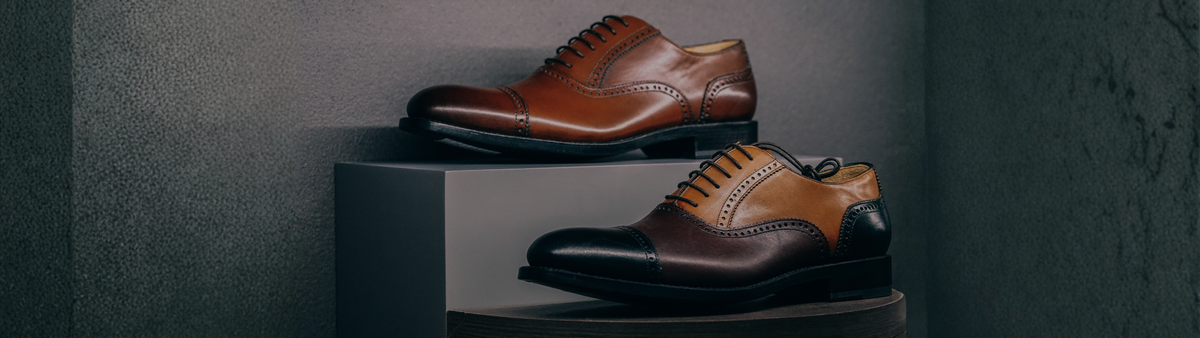
Good restoration does not begin with the strongest product. It begins by deciding whether the leather needs maintenance, a precise repair, broader colour renewal or a true transformation. That distinction is at the heart of the method I share with The Elegant Oxford community: preserve what is sound, intervene only where necessary and build colour with patience.

Start here
Choose the right level of restoration
These are escalating levels of intervention—not stages every item must complete. Begin with the condition you actually see and move further only when the gentler option cannot achieve the intended result.
Refresh
Light fading, superficial scuffs or colour that has lost depth, while the finish and leather remain sound.
Refresh existing colourRepair or restore
Localised colour loss, scratches and worn edges—or broader fading that ordinary shoe cream can no longer disguise.
Repair and restoreRecolour permanently
A deliberate, lasting transformation from a lighter colour to a darker one on compatible, sufficiently porous leather.
Plan a permanent changeBefore you begin
Is this the right guide for your leather?
This guide is written for compatible smooth and grained leather. The products and techniques described here change surface colour or, in the case of Teinture Française, penetrate the leather itself. Material identification therefore comes before colour choice.
Use this guide for
- Compatible smooth calfskin and finished smooth leather
- Compatible grained and braided leather
- Shoes, boots, bags, belts, garments and leather goods
- Furniture, upholstery and larger articles when the selected product lists them as suitable
- Colour fading, superficial scuffs, local pigment loss and controlled colour transformation
Consult a material-specific guide for
- Suede, nubuck, velour and other raised-nap leathers
- Patent, metallic, pearlescent, coated or laminated leather
- Aniline, vegetable-tanned, nappa and highly absorbent leather unless compatibility is confirmed
- Reptile, fish leather, shagreen and delicate exotic skins
- Peeling bonded leather, tears, holes, split seams or missing structure
Finish matters as much as species. Two calfskin items can respond very differently when one is heavily pigmented and the other is naturally finished. If the material or coating is uncertain, test discreetly and request guidance before changing the colour.
Diagnosis before products
Read the damage before choosing colour
Clean away loose dust and examine the dry leather in neutral light. A dark transfer mark can resemble missing colour; accumulated polish can imitate an uneven finish; a crease may look dramatic without being structurally damaged. Treat what is present—not what it resembles in a photograph.
| What you see | What it usually needs | Where to begin |
|---|---|---|
| Light fading or superficial scuffs | A compatible pigmented cream to nourish and refresh the existing colour | Colour refresh |
| White salt, water or snow marks | Targeted removal with Hiver Winter Salt Stain Remover before nourishment or recolouring | Stain removal |
| Dark transfer, old polish or stubborn contamination | Careful cleaning with Réno'Mat Leather Cleaner before deciding whether colour repair remains necessary | Stain removal |
| Small scratches, worn edges or local colour loss | Targeted repair with Crème Rénovatrice Repair Cream | Local repair |
| Broad fading or worn colour across a panel | Juvacuir Recolourant applied thinly and evenly over the complete matching area | Broad restoration |
| A lighter item intentionally becoming darker | Preparation followed by Teinture Française Leather Dye and an appropriate finishing routine | Permanent dyeing |
| Cracks, peeling, tears, holes or missing leather | Structural repair assessment; colour products cannot rebuild a failed surface | Seek repair advice first |
Remove dirt and incompatible buildup before covering it. Restoration becomes more natural when pigment is used to replace genuine colour loss rather than to bury contamination.
Remove before you recolour
Treat stains without disguising them
A stain changes what sits on or within the leather; colour loss changes the finish itself. The distinction matters. Pigment applied over contamination may hide the mark briefly, but it can also seal it beneath the repair, interfere with adhesion and leave an unnatural patch. Begin by identifying the stain and removing as much of it as the leather safely allows.
| Type of mark | First response | What follows |
|---|---|---|
| Loose dirt or dried mud | Allow it to dry, then remove it gently with the appropriate dry brush before introducing cleaner | Reassess the clean surface |
| Old polish, dark transfer or product buildup | Patch test Réno'Mat Leather Cleaner and work sparingly with a clean cotton cloth | Allow the leather to dry completely, then decide whether colour is actually missing |
| White salt, water or snow marks | Use Hiver Winter Salt Stain Remover on the affected marks after removing loose dirt | Let dry fully; nourish or restore colour only if needed |
| Fresh liquid spill | Blot immediately with a clean absorbent cloth; do not rub or spread the liquid | Allow natural drying and identify the remaining mark before treating it |
| Grease, oil or sebum | Blot fresh excess without rubbing; do not apply water, cream or heat | Use a compatible grease-specific method only after confirming the leather finish |
| Ink, paint, adhesive or dye transfer | Do not improvise with alcohol, acetone or household wipes | Request stain-specific advice before recolouring |
-
Identify the mark and the leather
Note what caused the stain, when it occurred and what has already been applied. A fresh spill, old grease mark and missing top colour may look similar but require very different treatment.
-
Remove loose contamination first
Use the Horsehair Brush or a clean Polishing & Cleaning Cloth on compatible dry smooth leather. Never drag abrasive particles across the finish.
-
Choose the targeted treatment
For salt, water and snow deposits, shake and apply Hiver Winter Salt Stain Remover to the marks with a soft cotton cloth. For stubborn dirt and accumulated product deposits, use Réno'Mat Leather Cleaner sparingly. Patch test either product first.
-
Work from clean cloth
Use small amounts and move frequently to a fresh section of the cloth. The objective is to lift contamination rather than redistribute it over the surrounding leather.
-
Let the leather dry completely
Do not judge the colour while the surface is damp or softened by cleaner. Dry naturally at room temperature, away from radiators, hairdryers and direct sunlight.
-
Reassess before adding pigment
If the mark has disappeared and the colour remains sound, return to compatible nourishment and maintenance. If cleaning reveals genuine pigment loss, continue with Crème Surfine, Crème Rénovatrice or Juvacuir according to the size and condition of the affected area.
The clean, dry result tells you what the leather truly needs. Sometimes the mark disappears; sometimes it reveals colour loss beneath. Only the second situation calls for recolouring.
Stop when the stain is more delicate than the finish. Grease, ink, paint, adhesive, mould and unknown chemical marks can require stain-specific treatment. On aniline, nappa, vegetable-tanned, vintage, exotic or high-value leather, ask for guidance before experimenting with a strong cleaner or solvent.
Four products, four purposes
Crème Surfine, Crème Rénovatrice, Juvacuir or Teinture Française?
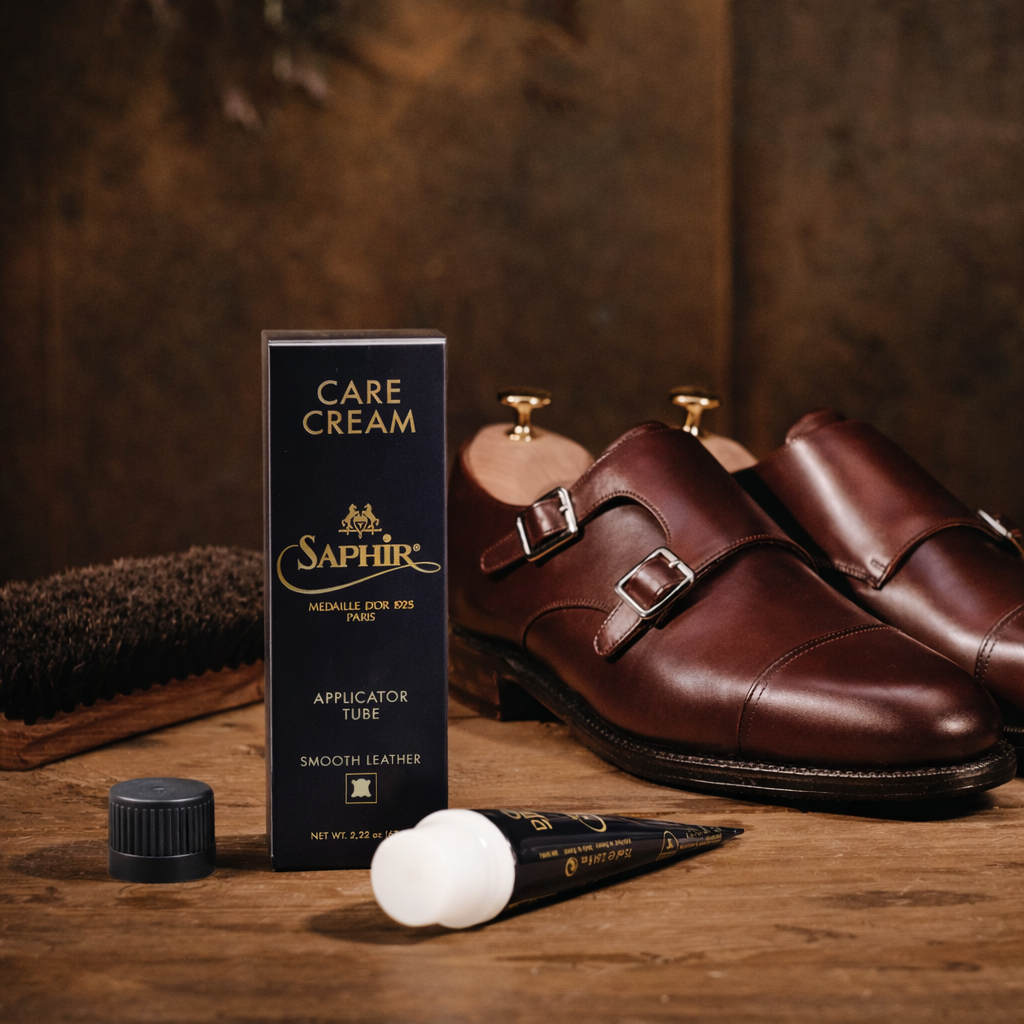
For maintenance, nourishment and refreshing an existing colour. It can soften light fading and superficial scuffs, but it is not a filler or permanent dye.
A concentrated resin-based repair cream for precise damaged areas: scratches, worn edges, snags and localised pigment loss. It is not a routine cream and should not ordinarily cover the entire article.
A fluid, covering recolourant for broader colour revival on smooth leather. It works across shoes, bags, garments, luggage, furniture and other compatible leather goods—not only large objects.
A penetrating alcohol-based dye for a fundamental and usually permanent colour transformation from lighter to darker. It is not the solution for ordinary scuffs, fading or routine patina.
The simplest useful distinction: Crème Rénovatrice stays local; Juvacuir can unify a broader surface; Teinture Française changes the underlying colour. If an ordinary pigmented cream produces the result, stop there.
Colour is part observation, part restraint
How to choose and test a shade
Colour names are a starting point, not a guarantee. Leather age, finish, absorption, previous care and lighting all influence the dry result. Compare the item in natural indirect light, consult The Elegant Oxford Colour Guide and judge the test only after it has dried and been buffed.
-
Identify the intended result
For a repair or broad restoration, aim to reproduce the existing colour. For patina, decide where controlled tonal variation belongs. For permanent dyeing, remember that the original shade remains part of the final colour.
-
Begin with the closest shade
A repair is easier to blend when the starting colour is already close. Do not assume a darker product will conceal every difference more naturally.
-
Test on the same material and finish
Choose a concealed area of the article—not lining leather or another panel with a different coating. Use the same preparation and application method planned for the visible surface.
-
Let the test dry completely
Wet product often looks darker. Respect the product's drying time, buff where instructed and inspect the result under more than one light source.
-
Mix only with purpose
Compatible shades within the same product range may be blended. Record the proportions and prepare enough custom colour for the complete repair or matching panel.
Preparation without over-stripping
Choose the cleaner by the job
Preparation should remove only what prevents the next treatment from working. A soft cloth and routine cleaner may be enough for a light colour refresh. Réno'Mat Leather Cleaner belongs to deeper cleaning and buildup removal. Décapant Leather Stripper belongs to deliberate dye preparation.
| Preparation | Use it when | Do not confuse it with |
|---|---|---|
| Gentle surface cleaning | Dust, light grime or a normal maintenance film must be removed before pigmented cream | Stripping the finish |
| Réno'Mat Leather Cleaner | Stubborn dirt, dark marks or accumulated wax, resin and silicone deposits interfere with repair or recolouring | An every-time cleaner |
| Décapant Leather Stripper | A compatible smooth leather is being prepared for Teinture Française Leather Dye and old coatings must be removed to open the surface | Cleaning scuffs, refreshing colour or ordinary patina work |
It removes top coats, tints and varnishes. Once the original finish is stripped, the project has moved beyond maintenance into technical recolouring. Do not use it simply because the leather looks tired.
Level 1
Refresh light fading without disguising the leather
When the finish remains sound, a pigmented maintenance cream is often the most elegant answer. Crème Surfine Shoe Cream can nourish the leather, restore depth and soften the appearance of light scuffs while preserving more of the original character than a repair product.
-
Dust and inspect
Remove loose dirt with the Horsehair Brush or a clean Polishing & Cleaning Cloth. Use a dedicated Mud Remover Brush first if dried mud is present.
-
Clean only as much as needed
Use a compatible gentle cleaner for light grime. Reserve Réno'Mat Leather Cleaner for genuine buildup or stubborn contamination, then allow the leather to dry completely.
-
Apply a very thin layer
Test and apply a compatible shade of Crème Surfine Shoe Cream sparingly with the Polishing & Cleaning Cloth or an application brush. Extend the treatment evenly over the matching area.
-
Allow it to settle
Respect the product instructions before buffing. Do not add more cream merely because the leather has not shone immediately.
-
Buff and reassess
Use the Horsehair Brush, Polishing Brush or a clean section of the Polishing & Cleaning Cloth. If true pigment loss remains visible, move to targeted repair rather than building heavy layers of maintenance cream.
Level 2 · Local repair
Repair scratches, worn edges and local colour loss
Crème Rénovatrice Repair Cream is a concentrated repair product. Its strength is precision: replacing colour where the surface is damaged without unnecessarily coating sound leather around it.
-
Confirm the damage is superficial
The product can disguise scratches, scuffs, snags and colour loss where the leather remains structurally sound. It cannot repair a tear, hole, deep crack, peeling coating or missing leather.
-
Clean the area
Remove dust and contamination. When buildup or dark marks require stronger cleaning, use Réno'Mat Leather Cleaner sparingly and allow the leather to dry fully.
-
Prepare and test the colour
Select the closest shade of Crème Rénovatrice Repair Cream. Mix compatible shades only when necessary, record the proportions and test the dry result in a concealed area.
-
Apply only where needed
Use a fingertip, small cloth or precise applicator to place a minimal amount onto the damaged area. Smooth the edges into the surrounding finish. For textured grain, a light tapping action with a small sponge can avoid an unnaturally flat patch.
-
Allow ten minutes to dry
Assess the first application only when dry. Add another thin layer if the repair still requires coverage; avoid creating a raised, plastic-looking deposit.
-
Unify the finish
Once the repair is stable, apply an appropriate maintenance cream over the matching area if needed, then buff lightly with the Horsehair Brush, Polishing Brush or a clean Polishing & Cleaning Cloth.
About gouges: Crème Rénovatrice can improve the colour and appearance of shallow surface loss, but it is not a structural filler. A deep gouge with lifted edges or missing leather should be assessed for professional repair before pigment is applied.
Level 2 · Broader restoration
Restore colour across a larger surface with Juvacuir
Juvacuir Recolourant is the bridge between ordinary pigmented cream and permanent dye. Its fluid texture and covering pigments make it useful for shoes as well as larger articles—bags, jackets, luggage, furniture and upholstery—when broad colour revival is required.
-
Confirm that broad recolouring is necessary
Use Juvacuir when ordinary cream no longer provides sufficient coverage. If only one scratch is affected, Crème Rénovatrice may offer a more precise repair.
-
Clean and dry the leather
Remove dust, grime and interfering deposits with the least aggressive suitable method. Do not use Décapant as routine preparation for Juvacuir.
-
Patch test the chosen shade
Test Juvacuir Recolourant after shaking the bottle thoroughly. Confirm colour, adhesion and acceptable change to the finish once dry and buffed.
-
Treat the complete matching area
Place a small amount on a clean cotton cloth and apply a thin, even layer using gentle circular movements. On footwear, this may mean the complete shoe; on bags, garments or furniture, respect seams as natural panel boundaries.
-
Allow approximately fifteen minutes to dry
Buff with a clean Polishing & Cleaning Cloth. If more coverage is required, add another thin layer only after assessing the first.
-
Return to compatible maintenance
Once the colour is restored and fully dry, maintain the article with an appropriate cream or balm for its use and finish. Avoid unnecessary heavy coating over the restored surface.
Touching only the centre of a broad faded patch can leave a visible ring. Thinly recolouring the complete matching panel usually produces a more coherent result under changing light.
Level 3
Permanently recolour smooth leather
Teinture Française Leather Dye is a penetrating colour system, not a stronger shoe cream. Use it when the objective is an intentional, lasting change from a lighter colour to a darker one and the leather has sufficient porosity to accept the dye. This process changes the article fundamentally and is difficult to reverse.
-
Define the transformation
Choose a darker destination colour and consider how the original shade will influence it. Teinture Française cannot turn dark leather into a lighter colour.
-
Confirm material and porosity
Heavily coated or closed surfaces may resist penetration. Follow current product guidance and test a concealed area before committing the complete article.
-
Prepare the surface deliberately
For compatible smooth leather requiring its existing top coat to be removed, apply Décapant Leather Stripper with clean white cotton cloths. Work carefully through grooves and folds, changing cloths rather than redistributing residue.
-
Allow Décapant to evaporate for one hour
Do not apply dye over a surface that is still wet with stripper. Inspect for even preparation, especially around seams and creases.
-
Build dye in regular, thin layers
Shake and test Teinture Française Leather Dye, then apply it evenly and progressively with the appropriate applicator. Avoid flooding the leather or trying to reach the final depth in one pass.
-
Allow the dye to dry
Official guidance specifies one hour before evaluating the colour. Add another controlled layer only if necessary for an even result.
-
Rebuild the finish
Once completely dry, use the appropriate colour and finishing treatment for the condition and intended appearance: maintenance cream for sound leather, Juvacuir for worn broader surfaces, or Crème Rénovatrice for specific damaged areas.
Work safely. Protect skin, clothing and surrounding surfaces; ensure appropriate ventilation; keep the products away from heat and flame; and follow every warning on the current packaging. If the item is valuable, delicate or irreplaceable, a professional trial is wiser than an irreversible experiment.
Depth without unnecessary stripping
Build a patina while preserving the leather
A new patina does not automatically require Décapant or penetrating dye. On many sound smooth-leather shoes, tonal depth can be built with compatible pigmented creams and waxes: a base shade close to the leather, then restrained darker accents at the toe, heel or seams.
-
Begin with clean, conditioned leather
Remove dust and only the buildup that prevents an even application. Preserve a sound factory finish whenever the intended effect can be achieved above it.
-
Establish the base colour
Apply Crème Surfine Shoe Cream in a compatible shade sparingly over the complete shoe and buff. This restores continuity before contrast is introduced.
-
Add contrast gradually
Use a slightly darker compatible cream in chosen areas, blending the edges while the application remains thin. The effect should look integrated rather than painted on.
-
Refine with wax where appropriate
Use Pâte de Luxe Wax Polish to develop depth and protection, concentrating heavier shine only on rigid toe caps and heel counters.
-
Stop before the leather loses dimension
Buff between applications and inspect in natural light. Patina is built by transparency and placement; excessive pigment produces opacity rather than character.
Protect the result
Aftercare and realistic expectations
| After treatment | Good practice | Avoid |
|---|---|---|
| After a local repair | Let each thin layer dry, then unify the surrounding finish gently | Heavy buffing before the repair has set |
| After Juvacuir | Buff after approximately fifteen minutes and allow the article to dry fully before use | Repeated thick coats or immediate exposure to friction and moisture |
| After Teinture Française | Allow the dye to dry for one hour, then rebuild care and finish gradually | Judging or finishing the colour while still wet |
| During future care | Use compatible cream sparingly and clean only when condition requires it | Strong cleaner or stripping at every polish |
| When colour wears again | Identify whether the issue is surface dirt, maintenance fading or renewed pigment loss | Automatically repeating the most invasive process |
No colour treatment can guarantee an invisible repair on every leather. Grain, age, absorbency and prior wear remain part of the article. The objective is a coherent, durable and respectful result—not the erasure of every sign that the leather has lived.
Quiet technique, better results
Common mistakes to avoid
- Reaching for dye when ordinary cream would work. Permanent transformation should never be the default answer to light fading or scuffs.
- Using Décapant as a cleaner. It removes finishes and belongs to controlled dye preparation.
- Covering dirt with pigment. Clean what can be removed before replacing colour that is genuinely missing.
- Applying Crème Rénovatrice over the entire item. Its concentrated repair formula is designed primarily for localised damage.
- Touching up the centre of a broad faded panel. Work the complete matching area to avoid rings and islands of fresh colour.
- Trying to dye dark leather lighter. Teinture Française is intended to take lighter shades darker.
- Skipping the dry colour test. Wet pigment and solvent-darkened leather do not show the final shade accurately.
- Building one heavy coat. Several controlled thin layers are easier to blend and less likely to obscure the grain.
- Expecting colour to repair structure. Tears, holes, peeling and deep cracking require repair beyond pigment.
- Assuming every smooth leather accepts the same process. Coatings, absorbency and special finishes can change the result completely.
Build only the routine you need
Recommended tools and treatments
Choose from this progression according to the diagnosis above. The most professional routine is not the one with the most products; it is the one in which every product has earned its place.
For nourishment, routine colour maintenance and refreshing light fading on compatible smooth leather.
View shoe creamFor concentrated, localised restoration of scratches, worn edges and areas of pigment loss.
View repair creamFor broader colour restoration on compatible shoes, bags, garments, furniture and leather goods.
View recolourantFor professional, penetrating colour transformation from a lighter shade to a darker one.
View leather dyeFor stubborn contamination and accumulated product buildup before restoration—not routine cleaning.
View cleanerFor targeted removal of white marks and deposits caused by salt, water and snow before nourishment or colour restoration.
View stain removerFor removing old top coats and preparing compatible smooth leather before true penetrating dye work.
View stripperFor controlled product application, clean buffing and monitoring the residue removed from leather.
View clothFor dry dust removal and gentle final buffing on compatible smooth and grained leather.
View brushFor efficient buffing and removing dried excess product before a finer finishing brush or cloth.
View polishing brushFor protection, tonal refinement and shine after the leather's colour has been restored.
View wax polishCompare available shades before selecting or blending a pigmented repair, recolourant or dye.
Find your shadeThe questions we hear most
Repair and recolouring, answered
What is the difference between Juvacuir, Crème Rénovatrice and Teinture Française?
Juvacuir is a fluid, covering recolourant for broad colour revival on compatible smooth leather, including shoes, bags, garments, furniture and leather goods. Crème Rénovatrice is a concentrated repair cream for local colour loss, scratches and worn areas. Teinture Française is a penetrating dye for a fundamental and usually permanent change from a lighter colour to a darker one.
Should I use Teinture Française for scuffed shoes?
Ordinarily, no. Begin with a compatible pigmented shoe cream for superficial scuffs. Use Crème Rénovatrice for specific pigment loss or Juvacuir when broader colour restoration is needed. Reserve Teinture Française for a deliberate, lasting colour transformation.
Should I cover a stain with pigmented cream or recolourant?
Not before cleaning. Identify the stain, use the least aggressive compatible removal method and allow the leather to dry completely. Recolour only if genuine pigment loss remains after the contamination has been removed.
Must I use Décapant before every recolouring product?
No. Décapant is a technical stripper used to remove existing top coats before true dye work on compatible smooth leather. It is not required for ordinary colour refresh, local repair or most Juvacuir applications.
Can Crème Rénovatrice fill a deep gouge?
It can improve the colour and appearance of shallow surface loss, but it is not a structural filler. Deep gouges, lifted edges, missing leather, tears and cracks require repair assessment before recolouring.
Can I use Juvacuir on shoes?
Yes. Juvacuir is suitable for compatible smooth-leather shoes as well as bags, jackets, luggage, furniture, upholstery and other leather goods. Its fluid consistency simply makes it especially practical when the affected area is broad.
Can I dye dark leather a lighter colour?
Teinture Française is designed to take lighter leather to a darker shade. It cannot reliably transform dark leather into a lighter colour. A lighter finish would require a different professional coating system and substantially different preparation.
Can I mix colours?
Compatible shades within the same product range can be mixed. Record the exact proportions, patch test the dry result and prepare enough for the entire repair or matching panel. Do not casually mix different product families.
Should I recolour only the faded spot?
A tiny scratch can be repaired locally. Broad fading is usually more coherent when the complete matching panel—or complete shoe—is treated thinly and evenly, using seams as natural stopping points.
Will the repaired colour be invisible?
No universal product can guarantee that. The result depends on the shade, grain, finish, absorption, wear and lighting. Careful preparation, a dry patch test and several thin applications provide the best chance of a natural blend.
Can I use these methods on a leather sofa or jacket?
Juvacuir and Crème Rénovatrice list compatible smooth-leather garments and furniture among their uses, but large panels reveal colour and sheen differences easily. Confirm the finish, test discreetly, work complete matching panels and avoid penetrating dye unless a permanent transformation is truly intended.